Creating a Service account
Everything starts here - creating a service account is the very first step for merchants to begin integrating with our platform.
ImportantThis page is under active development, its structure and contents are subject to change.
NoteIf you already have the
credentials.jsonfile containing all the necessary details, just skip this step.
This is the starting point for integrating with our services. No prior steps are required before creating a service account.
Follow these brief steps to create a service account:
-
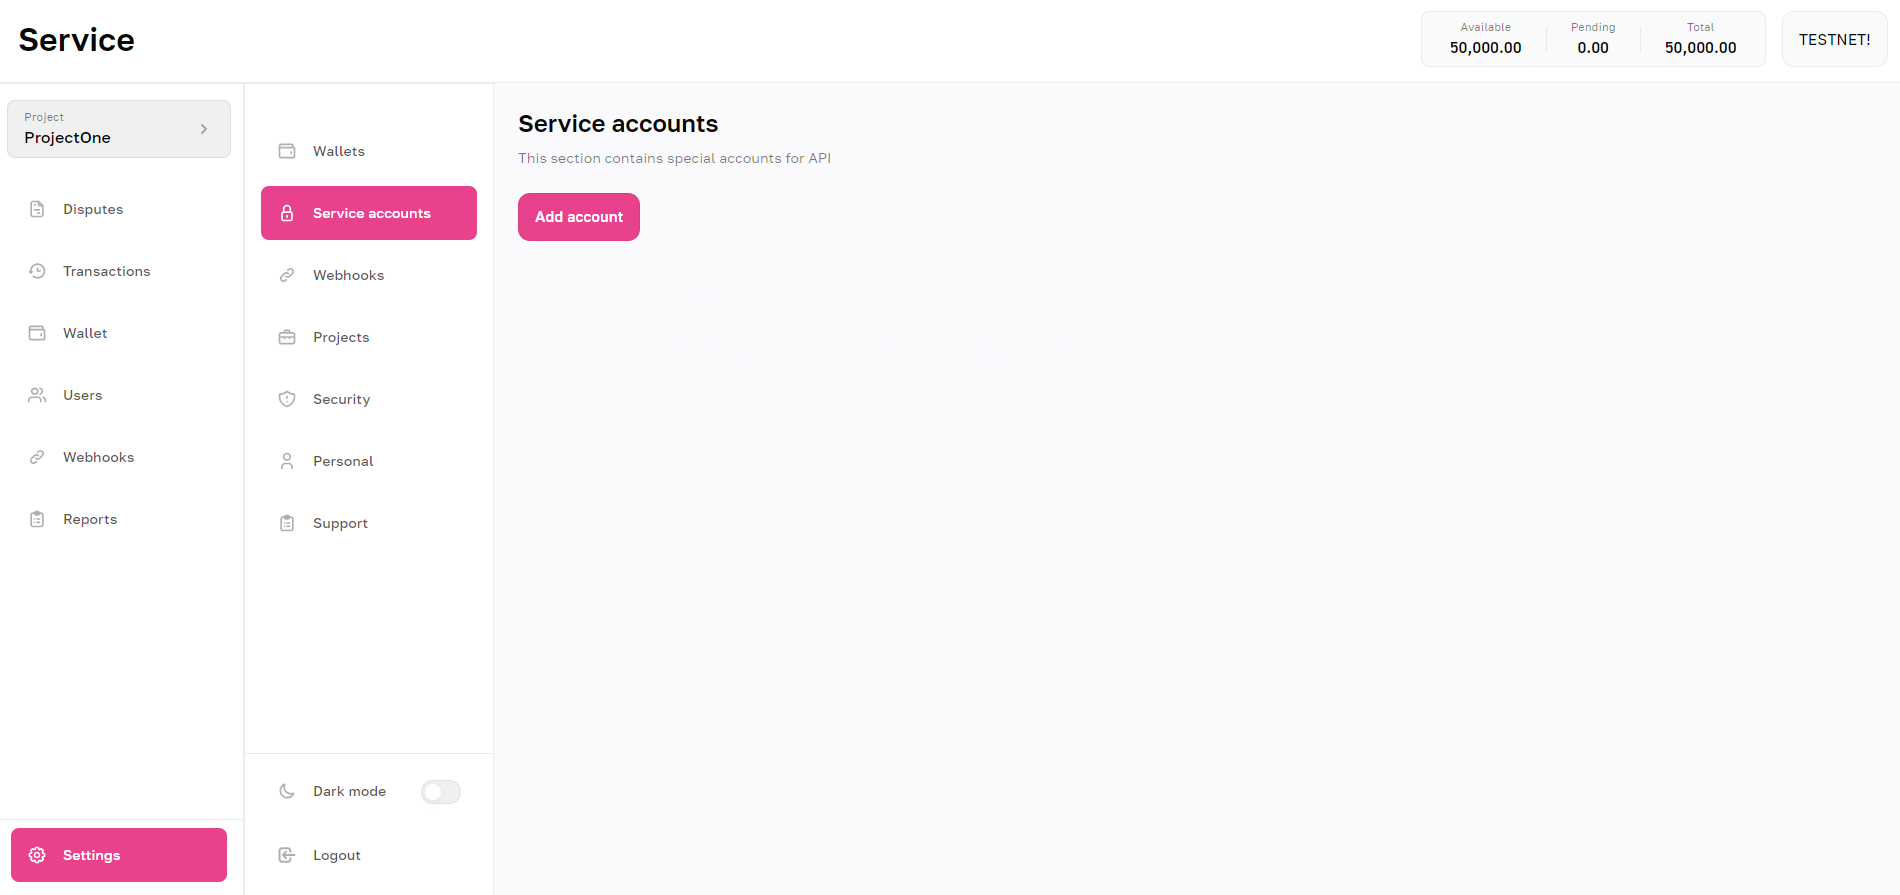
Log in to the system and navigate to Settings > Service accounts: Here, you can view all your existing service accounts, check account info, block an account, and modify the list of allowed IP addresses.
-
Click the_Add account_ button.
-
Provide the required information:
- Specify which project the account is for.
- Set the roles this account should have.
- List the allowed IP addresses (Whitelist IP addresses).
If you don't specify any whitelist IP addresses, the API can be accessed with this account from any IP address. For enhanced security, we always recommend listing the IPs that will be making requests to the API.

- Download the credentials file: After successfully creating the account, a file containing the account's information will automatically be downloaded.
Important: This file contains all the access details to the platform's features, including public and private keys. Keep this information confidential. If the keys are compromised, someone else could access your private data in the account. If you lose access to the keys, you will need to create a new service account.
Updated over 1 year ago